
A custom wardrobe can turn an awkward wall or crowded closet into storage that feels calm and intuitive. It can also become an expensive source of frustration if the layout is approved before anyone counts the clothes, checks the baseboards, or confirms how the cabinets will reach the room. The best projects begin with use, dimensions, and installation conditions—not a door style.
This guide walks U.S. homeowners through the decisions that matter before production begins. It applies to a fitted wardrobe wall, a reach-in closet replacement, and a walk-in dressing room. The goal is not to maximize the number of shelves. It is to give every frequently used item a practical home while preserving comfortable movement and a realistic installation plan.

Start With the Type of Wardrobe You Actually Need
“Custom wardrobe” can describe several different projects. A reach-in conversion works inside an existing closet opening. A fitted wardrobe uses a bedroom wall or alcove and may include doors, trim, and scribe fillers. A walk-in system uses multiple walls and requires more attention to aisle width, corners, lighting, and ventilation.
Begin by naming the problem you want the project to solve. You may need more double-hang space, drawers that replace a dresser, a place for luggage, or a cleaner background in a primary bedroom. That answer should shape the project more than a showroom photo.
Custom work earns its keep when it addresses the room and the household together. The broader benefits of custom furniture are most visible here: a useful wardrobe can respond to a sloped ceiling, an off-center window, a shallow recess, or a clothing collection that does not fit standard modules.
Decide early whether the project should read as part of the architecture or as furniture. A floor-to-ceiling installation with wall-to-wall fillers is visually permanent. A system with its own finished sides and a deliberate gap at the ceiling feels more movable. The comparison between built-in and freestanding custom furniture can help clarify which level of permanence makes sense for your home.
Turn Your Clothing Inventory Into Storage Zones
Before drawing compartments, count what you own. Exact counts are not necessary, but categories are. Separate long-hang garments, short-hang garments, folded clothes, drawers, shoes, bags, jewelry, seasonal bedding, and luggage. Note unusually long coats, tall boots, wide-brim hats, or deep storage bins.
Measure a few representative items. The longest dress determines more than a generic “long-hang” label. A stack of sweaters reveals how wide a shelf can be before the pile becomes unstable. The shoes you wear every week determine shelf spacing better than a catalog rendering.
Place daily items in the easiest reach zone, generally between waist and shoulder height for the person using the wardrobe. Reserve high shelves for luggage and seasonal pieces. Low drawers can work for bulky knits, but very low drawers may be inconvenient for someone with limited mobility. A shared wardrobe should assign clear zones to each person instead of assuming equal halves will work.
Avoid designing for perfect visual symmetry at the expense of capacity. Two identical bays may look orderly in an elevation, but one wider hanging section and one drawer stack may serve the household better. Adjustable shelves create flexibility, while fixed shelves can improve rigidity in tall cabinet sections. Use each deliberately.
For a straightforward wall-based solution, review the custom wardrobe options that correspond to bedrooms and reach-in conditions. If the room has enough area for a dedicated dressing zone, a walk-in closet system needs a separate circulation and corner strategy.
Measure the Room, Obstacles, and Delivery Route
A single width and height are not production measurements. Walls can bow, corners can be out of square, and floors can slope. Measure the opening at several heights and the height at several points. Record the smallest clear dimension as well as the variation. Note baseboards, crown molding, window casing, outlets, switches, supply registers, return grilles, access panels, sprinklers, and door swings.
The finished-floor condition matters. If new flooring is planned, the team must know the final floor height and whether the wardrobe will sit on top of the finished surface or be installed before it. Removing baseboard behind the cabinets, returning it into a side panel, or scribing around it produces different details.
Use the same disciplined approach described in this room-measuring guide, but add the wardrobe-specific conditions: ceiling variation, wall straightness, door clearance, and access to electrical components. Homeowner measurements are excellent for early planning. Final production dimensions should be confirmed by the responsible professional after the room is ready.
Do not stop at the bedroom. Check the path from the delivery vehicle to the installation wall. Measure the front door, tight hall turns, stair landings, elevator opening, and bedroom doorway. Confirm building rules for loading docks, elevator reservations, work hours, insurance certificates, and debris removal. Large end panels or assembled drawer units may dictate how the design is divided into transportable modules.

Choose a Layout That Preserves Comfortable Movement
The cabinet depth has to suit the storage method and the available room. Full-depth hanging sections need enough room for garments and hangers without rubbing the doors. Folded shelves and shoe storage may be shallower. If a room cannot support a standard front-facing hanging depth, pull-out or side-facing hardware may be possible, but it changes capacity and access.
Door type affects both the interior and the room. Hinged doors allow several sections to be visible at once and can support mirrors or accessories, but they need clear swing space. Sliding doors reduce the space required in front, yet one part of the wardrobe remains covered. Pocket or folding systems can improve access, but they add hardware and detailing that should be evaluated for durability and serviceability.
In a walk-in closet, protect the aisle before adding storage to every surface. A layout that looks generous on a plan can feel tight after door and drawer projections are included. Mark the cabinet fronts on the floor with painter’s tape, then simulate opening a drawer, turning, and passing another person. Include a bench or island only after primary circulation works.
Corners deserve an explicit decision. A blind corner can hide capacity that is technically present but hard to use. Sometimes stopping one run short and creating a wider, accessible return is better than forcing cabinets into every inch. Ask the designer to show how each corner opens and what can be reached without moving another door.
Select Materials for Daily Use, Not Just the Sample Board
Wardrobe interiors should be stable, cleanable, and appropriate for the expected load. Engineered panels can provide consistent flatness and finish. Wood veneer offers genuine grain variation. Painted surfaces create a tailored appearance but may show impacts differently from textured laminates. The right choice depends on look, budget, humidity, maintenance expectations, and the details available from the fabricator.
Ask what the core material is, not only what the surface looks like. Confirm the finished thickness of shelves, drawer construction, edge treatment, backing, and how long spans will be supported. A shelf that holds folded shirts is different from one intended for luggage or a dense row of shoes.
Review samples in the bedroom’s actual light. A warm wood can turn orange under one lamp and gray near a north-facing window. Large door surfaces make subtle color and sheen differences more obvious than a small chip. If the wardrobe must coordinate with flooring or a bed, place samples together rather than evaluating each in isolation.
Hardware should be specified by function. Discuss hinge opening angle, soft-close behavior, drawer load, handle projection, hanging-rod support, and the availability of replacement parts. Specialized pull-down rods, valet hooks, belt racks, and jewelry trays are useful only when they solve a real habit. Too many mechanisms can reduce usable space and create unnecessary maintenance.
Plan Lighting and Electrical Work Before Production
Lighting is easiest to integrate before cabinet parts are cut. Top-only light often leaves clothing faces in shadow, especially in deep or dark interiors. Vertical lighting near the front edges can illuminate hanging and folded items more evenly. Diffusers help avoid bright individual LED points reflecting from doors or mirrors.
Confirm switching method, color temperature, driver location, wire path, and service access. Door sensors, motion sensors, and manual switches each behave differently. A driver concealed behind a fixed panel may be difficult to replace, while an accessible location can be serviced without removing cabinetry.
Any outlet relocation, new wiring, or modification to the room should be coordinated with qualified trades and local requirements. The cabinet supplier and electrician should agree on exact rough-in locations before installation. A vague note that says “electrician by owner” is not enough; the drawings should show who provides the channel, wiring, driver, connection, and final testing.
Compare Quotes by Scope, Not by the Bottom Line
Two wardrobe quotes may cover different work even when the renderings look similar. Request an itemized scope that identifies design and field measurement, cabinet boxes, fronts, finished sides, fillers, trim, hardware, lighting, delivery, stairs or elevator handling, installation, protection, removal of existing components, wall repair, paint touch-up, debris disposal, tax, and warranty service.
Separate product decisions from site work. A wall-to-wall fitted project usually needs allowances for irregular walls and a method of closing the gaps. If fillers, scribes, or trim are missing from the quote, ask how the final edges will be finished. If the old closet must be removed, confirm whether patching and painting are included or assigned to another contractor.
Price should also reflect the approval level. A quote based on a rough image is not equivalent to one supported by measured plans, elevations, material specifications, and installation details. Avrela Home recommends comparing the same drawing set and the same assumptions across bidders so a lower number does not simply represent an incomplete scope. The Avrela Home homepage provides an overview of its broader whole-home and custom cabinetry planning approach.
Approve Drawings and Samples With a Written Checklist
Production approval is the point at which casual preferences become costly changes. Review every elevation and plan at a readable scale. Confirm overall dimensions, each opening, hanging heights, shelf spacing, drawer counts, door directions, handle locations, fillers, finished panels, trim, lighting, and interfaces with walls, floors, ceilings, windows, and outlets.
Ask the designer to label adjustable and fixed components. Confirm whether dimensions are clear internal dimensions or outside cabinet dimensions. A drawer front height does not reveal the exact usable drawer depth, and a shelf shown on an elevation may not be adjustable. Questions now are cheaper than assumptions discovered after delivery.
Request physical material and finish samples for final approval. Check edge color, sheen, grain direction, handle finish, mirror tint, and lighting appearance. If a natural material varies, ask what range of variation is normal. Keep a signed or photographed reference sample when possible.
Use a broader list of questions to ask before ordering custom furniture to verify schedule, payment milestones, change procedures, site readiness, warranty boundaries, and after-sales service. The contract should identify which drawing revision controls production and what happens if field conditions change after measurement.
Prepare for Delivery and Check the Installation
Before delivery, empty the work area and move fragile items from adjacent walls. Confirm parking, building access, elevator reservation, and the path to the room. Protect flooring and nearby furniture. Ask whether cutting or scribing will occur indoors and how dust will be contained.
During installation, the team may need to level the bases, join modules, scribe fillers, anchor units, adjust doors, and complete lighting connections. Minor fitting is normal because the room is not factory-square. Unplanned demolition, blocked utilities, or major dimension conflicts are not; those conditions should trigger a documented decision before work continues.
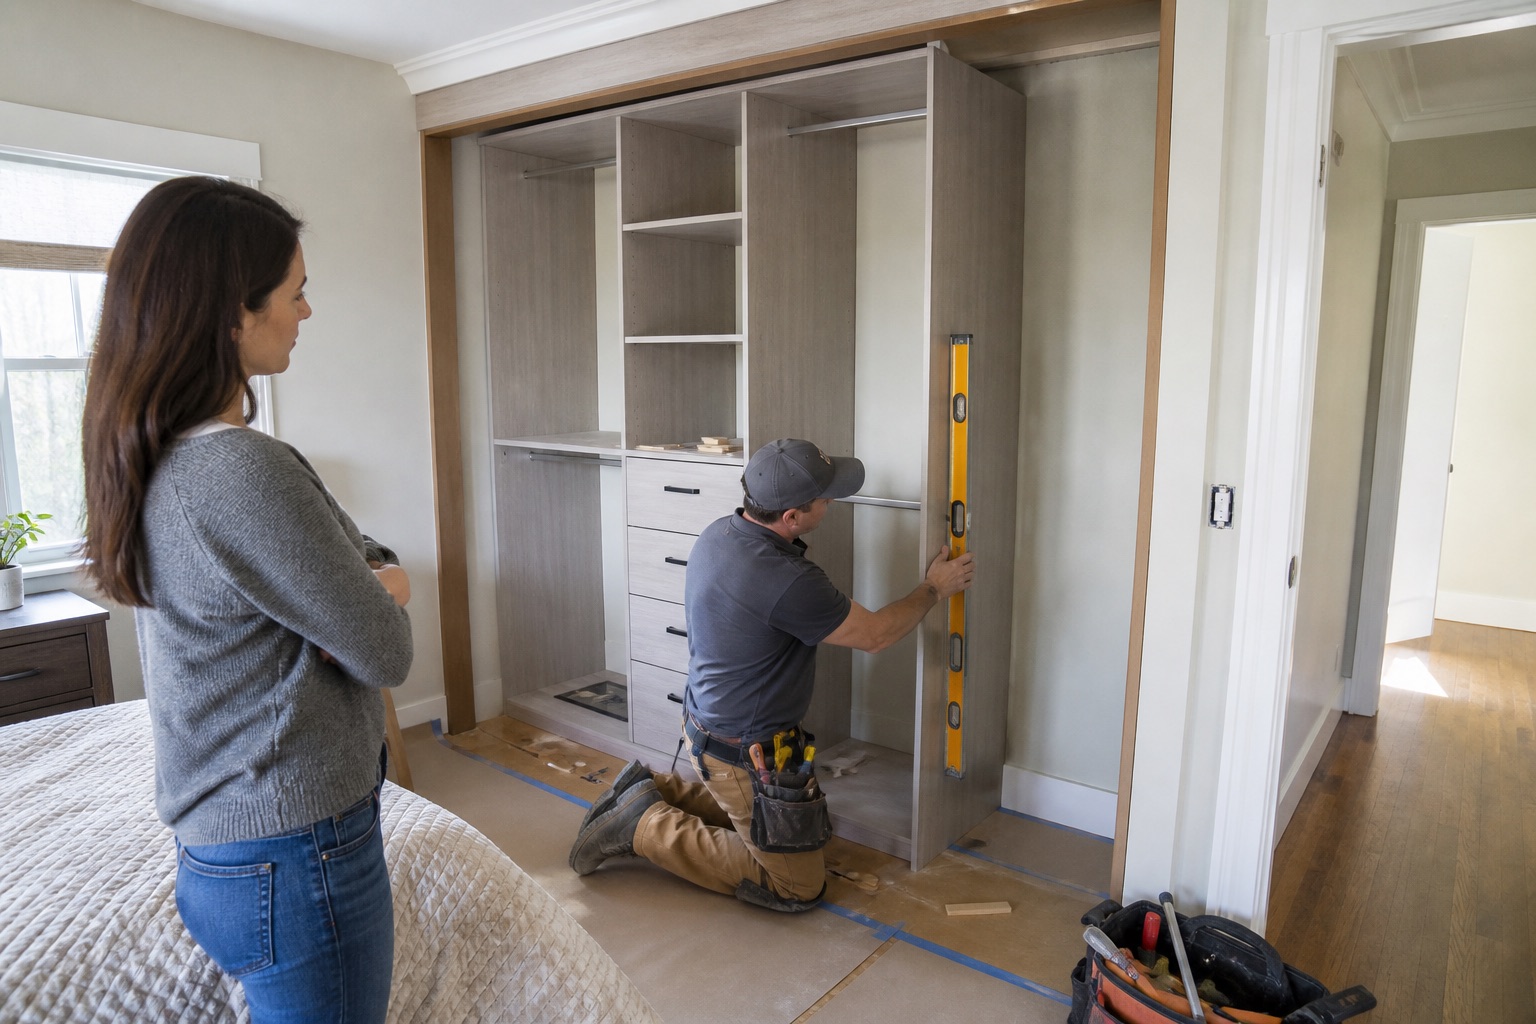
At completion, inspect alignment, consistent reveals, door and drawer movement, shelf support, hanging-rod security, lighting, mirrors, handles, fillers, trim, and wall contact points. Look for floor or paint damage and confirm that protective materials and debris are removed. Photograph any punch-list item and agree on responsibility and timing before the installers leave.
A successful wardrobe should be easy to use on an ordinary weekday, not merely impressive when empty. Load it gradually and adjust shelves after a few weeks. Keep finish-care instructions, hardware information, approved drawings, and warranty contacts together for future service.
Frequently Asked Questions
What is the difference between a custom wardrobe and a modular closet system?
A custom wardrobe is designed around a specific room, storage inventory, finish, and installation condition. A modular system uses predetermined widths, depths, and accessories. Modular products can be faster and easier to reconfigure, while custom work is better able to address irregular walls, exact alignment, coordinated finishes, and specialized storage.
Should a fitted wardrobe go all the way to the ceiling?
Not always. A ceiling-height design can reduce dust collection and add high storage, but it needs a deliberate plan for uneven ceilings, crown molding, ventilation, and installation clearance. A lower cabinet can be easier to install and may feel lighter in the room. Choose the detail that fits the architecture and storage need.
Should flooring be installed before or after the wardrobe?
It depends on the flooring type, the cabinet support method, and whether the installation is intended to be permanent. Coordinate the finished floor height, expansion requirements, baseboard, and installation sequence before final measurement. The cabinet and flooring teams should agree on the interface in writing.
Can a custom wardrobe include lighting and outlets?
Lighting can be integrated when the electrical plan, wire channels, sensors, drivers, and service access are defined early. Outlet changes or new wiring should be completed by qualified professionals in accordance with local requirements. Do not allow cabinetry to conceal required access or ventilation.
How long does a custom wardrobe take?
The total schedule includes consultation, preliminary design, field measurement, drawing approval, material procurement, production, shipping, site preparation, installation, and punch-list work. Ask for milestone dates rather than one production number, and allow additional coordination time for specialty finishes, imported hardware, electrical work, or building access rules.
A Better Wardrobe Begins Before the Factory
The most useful custom wardrobe is not the one with the most compartments. It is the one that reflects real clothing, real movement, and real site conditions. Inventory first, measure thoroughly, protect circulation, specify materials and hardware, coordinate electrical work, and approve a complete drawing set before production.
That preparation gives the design team a clearer target and gives the homeowner a better way to compare scope, schedule, and value. It also makes installation day more predictable—when changes are hardest and most expensive to make.